
How to upgrade to the latest phpMyAdmin version on Linux Cloud Servers
phpMyAdmin is one of the most used MySQL administration tools, more importantly in web hosting. It is a free and open-source tool, written in PHP, that can be used to manage both MySQL and MariaDB.
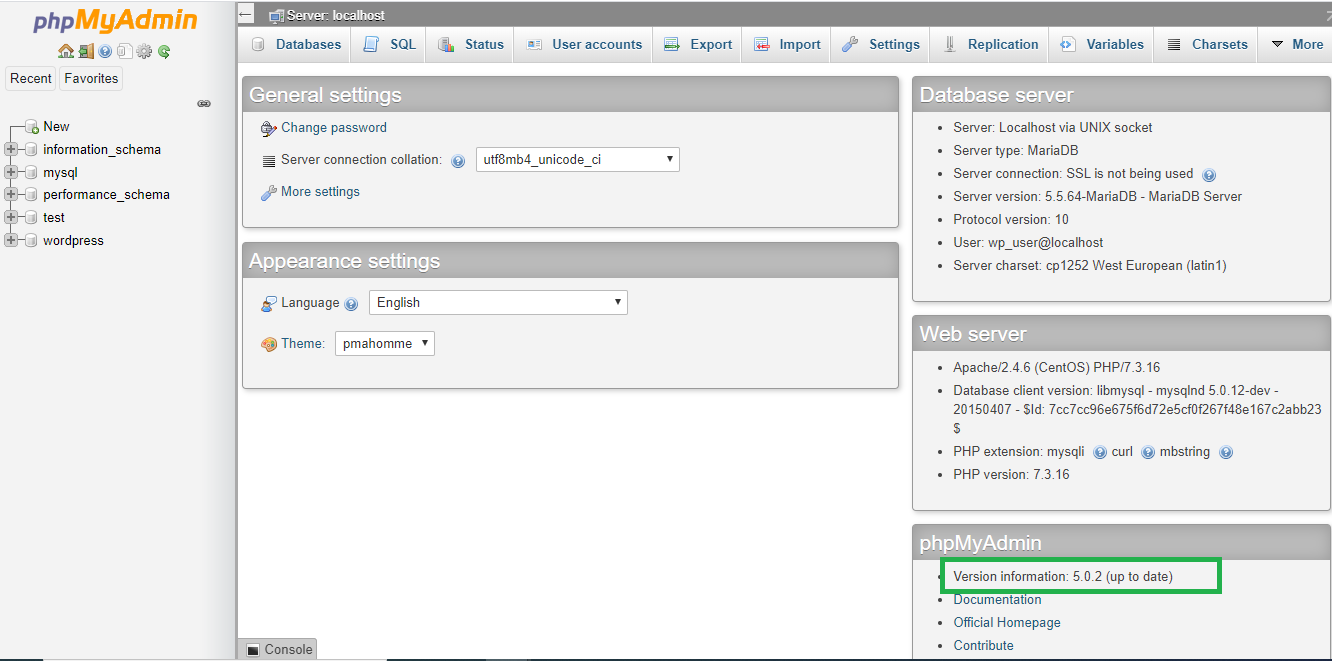
You can access your phpMyAdmin with servers IP and /phpmyadmin in a web browser and check the current version.
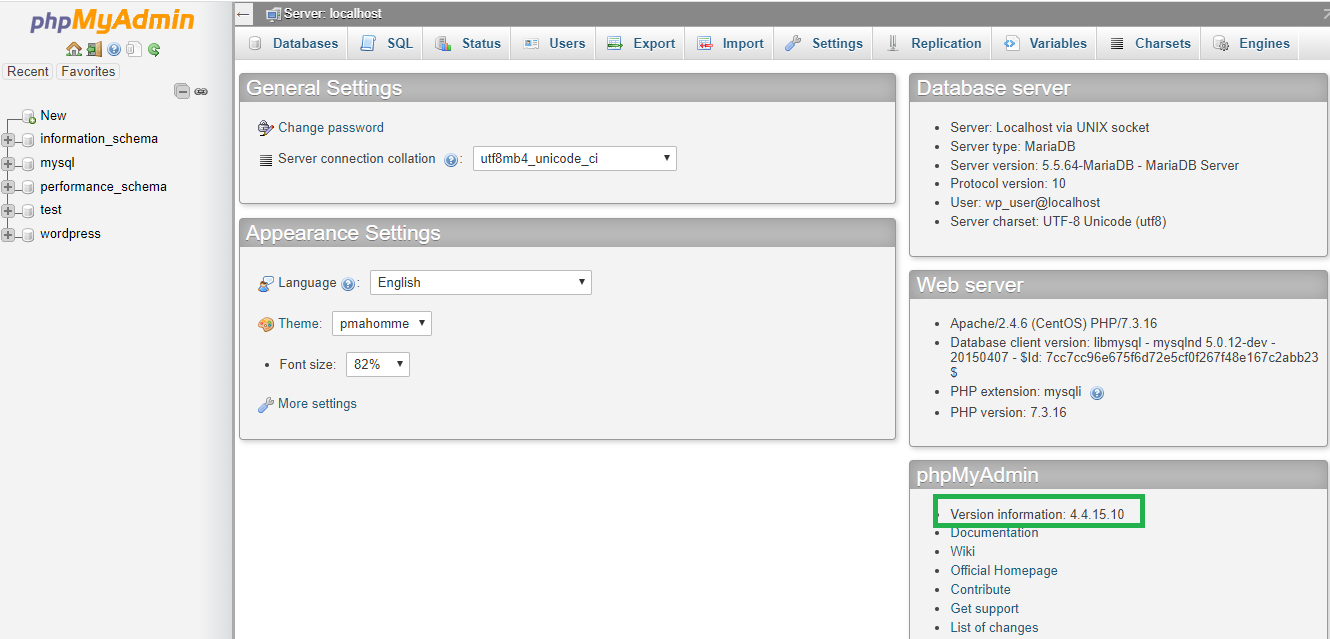
See the instructions for upgrading the phpMyAdmin on Linux OS below.
1st procedure: Backup phpMyAdmin
-
Back up your current phpMyAdmin folder by renaming it.
# mv /usr/share/phpMyAdmin /usr/share/phpMyAdmin_old
-
Create the same directory again and change to that with the below commands.
# mkdir /usr/share/phpMyAdmin

# cd /usr/share/phpMyAdmin

2nd procedure: Download and Extract phpMyAdmin
-
To download the new phpMyAdmin, go to the below link and download the zip/tar.gz file of the new version phpMyAdmin with the wget command.
https://www.phpmyadmin.net/downloads/
# wget https://files.phpmyadmin.net/phpMyAdmin/5.0.2/phpMyAdmin-5.0.2-all-languages.zip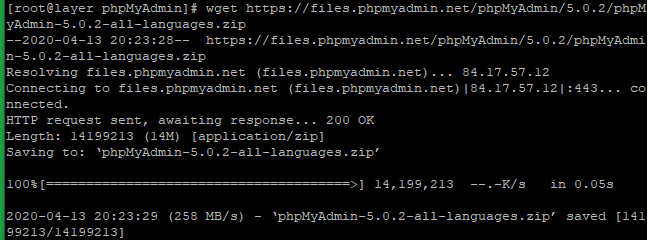
-
Now extract with the below command.
# unzip phpMyAdmin-5.0.2-all-languages.zip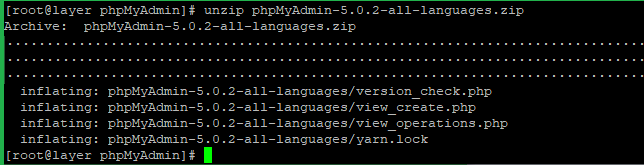
-
You should see a new folder
phpMyAdmin-5.0.2-all-languages. Move the contents of this folder to /usr/share/phpMyAdmin by using the below commands to do the same.# mv phpMyAdmin-5.0.2-all-languages/* .
-
You can now log back into phpMyAdmin and check the current version as we mentioned first.
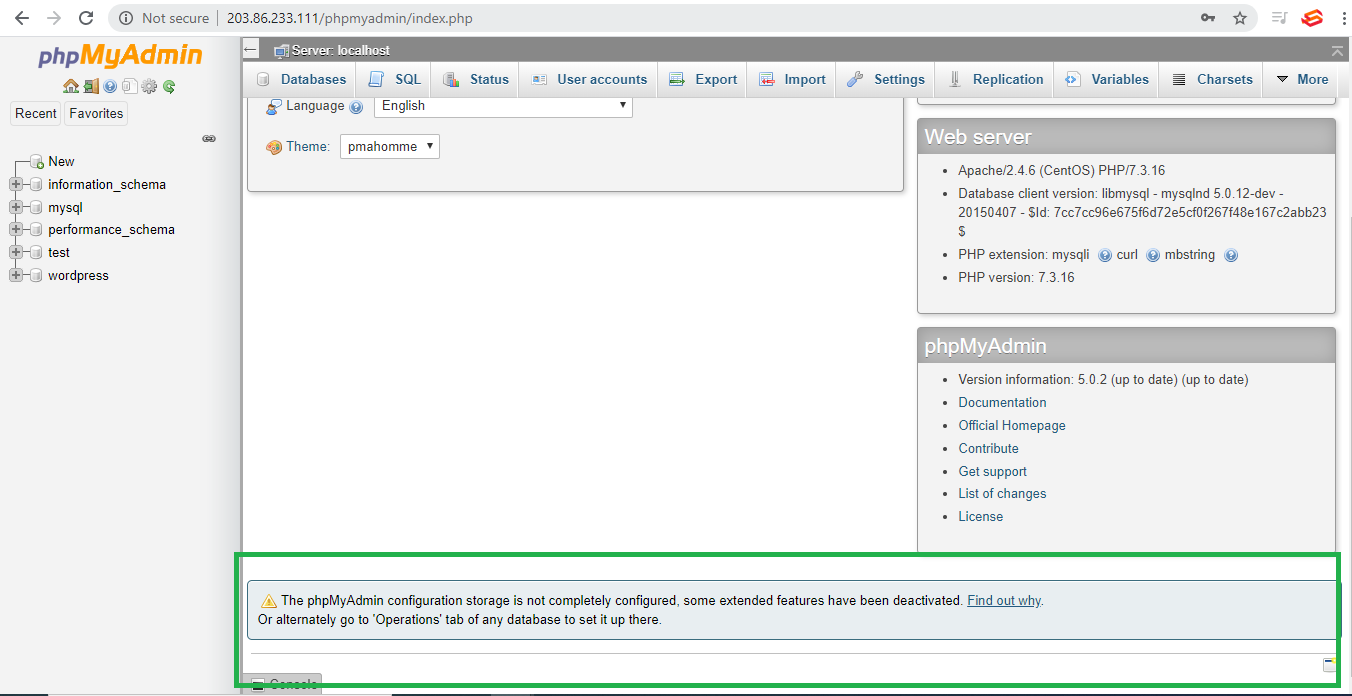
You may also see two errors as in the below image.
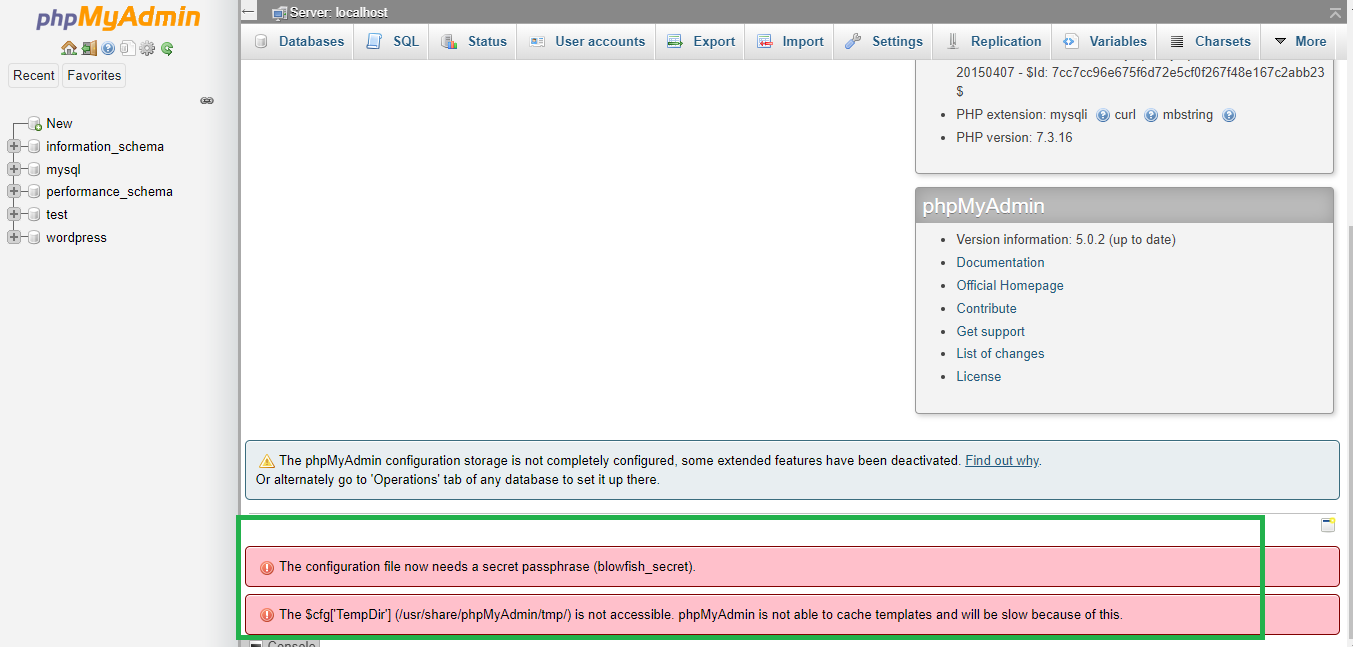
3rd procedure: Edit vendor_config.php to correct the errors
-
Open vendor_config.php file.
# vi /usr/share/phpMyAdmin/libraries/vendor_config.php
-
Press CTRL + W and search for TEMP_DIR and Change line to
define('TEMP_DIR', '/var/lib/phpmyadmin/tmp/');
-
Press CTRL + W and search for CONFIG_DIR and change the line to:
define('CONFIG_DIR', '/etc/phpmyadmin/');
-
Save file and Exit.
-
Now Reload or login again to the phpMyAdmin and ensure that the errors are gone.